

Parts of a Plant for Kids
Teaching parts of a plant for kids is the perfect Science topic for Springtime! The new life that is happening all around students helps them make connections to what is going on right in their front yard!
I love creating resources to make teacher’s lives easier (it’s all for YOU!), and interactive science lessons are one of my specialties! My science lessons cover weathering and erosion to lessons all about soil! Here are low/no-prep ideas for teaching parts of a plant for kids!
1. KWL Chart for Parts of a Plant for Kids
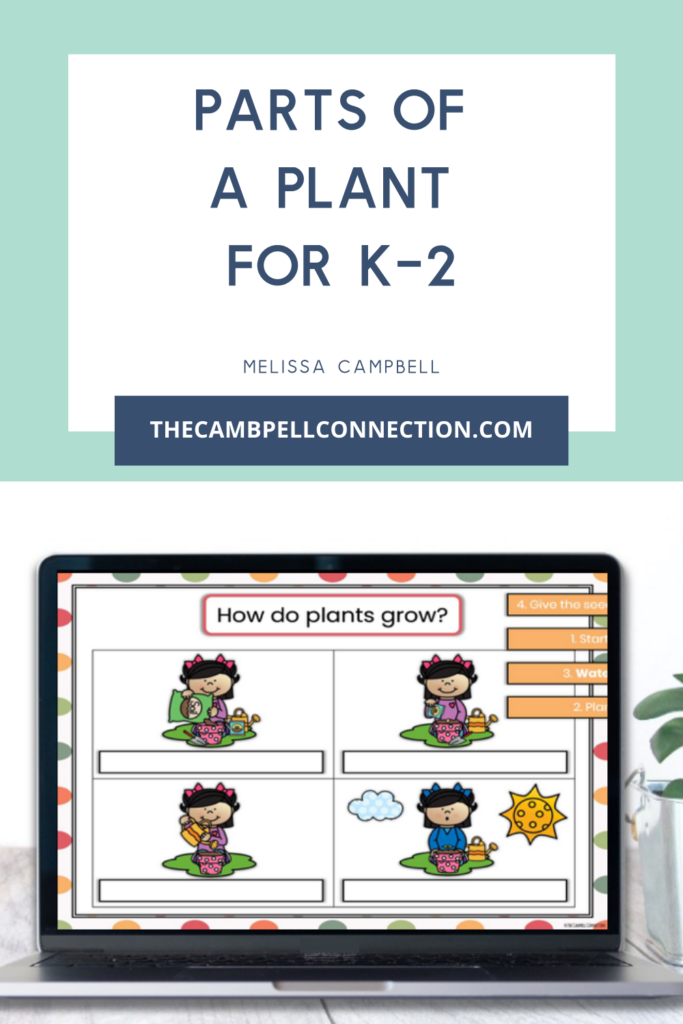
I created this interactive Google Slides activity that will help students interact with the content of parts of a plant. This activity is perfect for K-2 and can be used in person or virtually!
What is a KWL chart? It is a way to track student’s understanding of a topic over time. Know, Want to know, and Learned.
Using a KWL chart is the perfect way to start your plant unit, and it’s so easy to prep…basically no prep! Ask students what they already know about plants, their life cycle, and parts of a plant. I always find that students give higher quality answers when I let them quickly turn and talk to their neighbors.
Under the Know, record student’s responses. Having this interaction is also a great way to assess student vocabulary around the topic.
Follow the same process for what students are Wondering about parts of a plant.
After creating a whole group KWL chart, students can create a personal chart in a notebook or blank paper. This step isn’t necessary, but students can track their growth in understanding a topic and get down their ideas of what they know and wonder, especially if we cannot fit everyone’s answer on the class chart.
Keep this chart posted and at the end of each lesson, take a few minutes to have students talk about what they learned. Add this to the Learned portion of the chart. They may also add to their chart.
Create your KWL
Create your KWL Use poster paper and divide it into three parts. Write K in the first section, W in the middle section, and L in the past part. I’ve also used regular-sized paper under the document camera in a pinch!
This strategy can be used with any Science topic or experiment! Read about how vital Science experiments are in the classroom here!
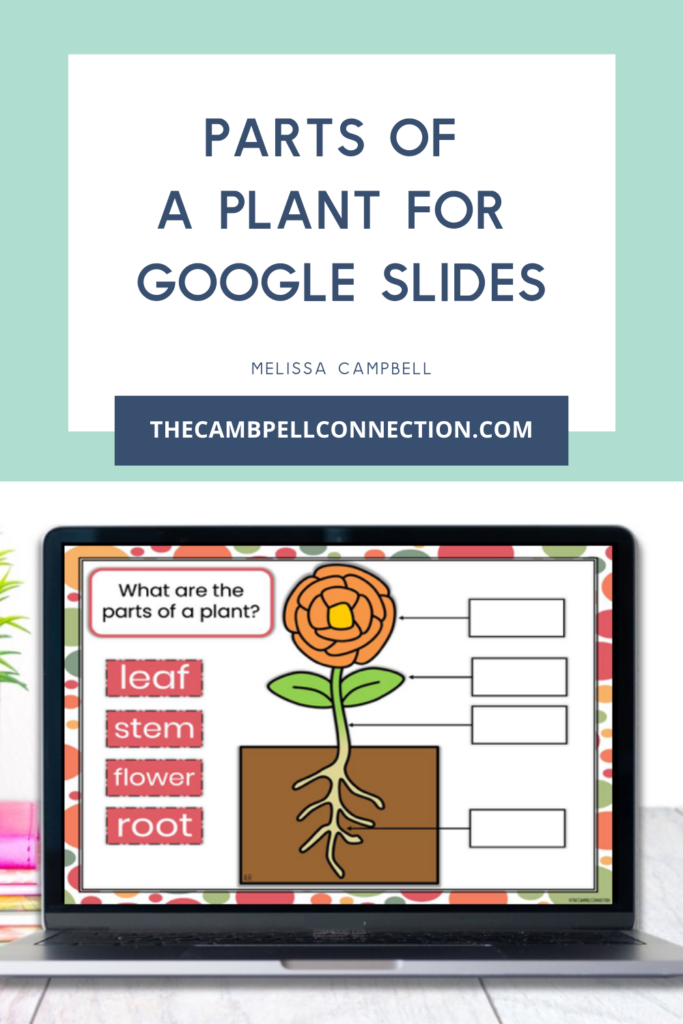
2. Parts of a Plant for Kids Google Slides
It’s no secret, I LOVE Google Classroom, and these Google Slides activities for parts of a plant is a flexible way to incorporate science into the classroom. Use these slides whole group, individually, for assessment purposes or even emphasizing vocabulary.
Have you ever made copies for Science, and the pictures are in black and white, with hard-to-see photos using up all the ink in the copy machine? Ugh! Using Google Slides to teach parts of a plant for kids saves you a trip to the dreaded copy machine, and this activity is in eye-catching color!
This Interactive Slide deck includes:
- An activity that includes parts of a plant to label using an interactive drag and drop.
- Five parts of a plant Google Slides
- Editable Teacher Directions
- Audio Directions Included (a must for those younger kiddos!)
- Easy download to Google Drive
3. Observe a Plant Growing
Observing a plant growing is a great way to experience parts of a plant for kids! I know, plants growing in the classroom may make you cringe thinking of all the prep and dirt and that thought of, “What if they all die?!” Here are some quick and easy ideas to get students to experience parts of a plant in real-time!
- Use a clear cup and add damp cotton balls at the bottom of the cup. Add in the seed, place it by a window, and watch it grow. You may even add saran wrap to the top to help germinate the seed.
- In a small Ziplock bag, place a damp paper towel, add a bean, and attach it to a window. The beans don’t last as long and may rot if you leave them up too long, so keep that in mind.
- Use a clear cup with dirt and have students plant the seed. Label each with a popsicle stick. Pro Tip: This idea is a little more work but can double for a Mother’s Day gift!
What is the best seed to use?
What is the best kind of seed to use? I did a little research via a quick search in a teacher Facebook group (because why not go to the experts) and got the top-recommended easy and hearty seeds to use!
- Lima beans: germinate and sprout quickly but don’t always last very long
- Marigolds: hearty and an excellent option for a Mother’s Day gift
- Sunflower: hearty, grows quickly and can be replanted easily.
Tip: Plant extra in case a student’s plant doesn’t make it!
Watch a germination video. That’s right, and you don’t have to plant a seed and observe every day; if you are short on time or supplies, a video like this one is a great alternative, and the students LOVE watching it! Here’s a great video!
What’s your next step? Get rid of your lesson planning stress and get your copy of Parts of a Plant Google Classroom activity!
Love Google Classroom as much as me? I have the 5 Best Kept Secrets of Google Classroom you NEED to know! I’ve got your back! Download it now!